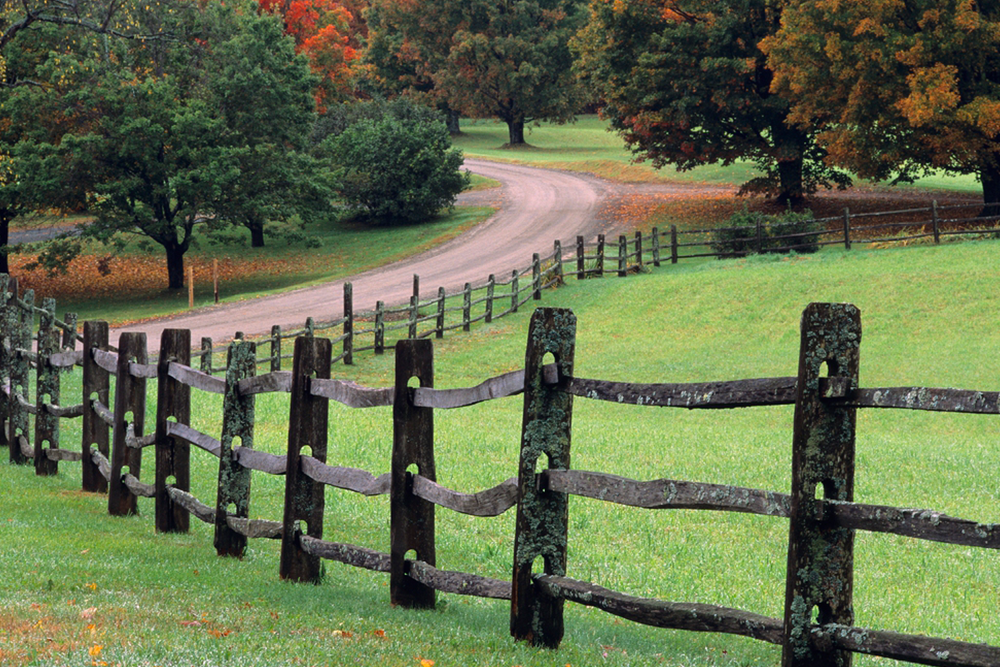
A split rail fence brings a rustic charm to any property. Originating in early America, this style is both practical and aesthetically pleasing. Many homeowners in Virginia choose this type of fence for its simple design and ease of installation.
If you are looking to install a split rail fence, it is important to understand the necessary materials, tools, and steps to ensure the project is done correctly.
This guide will walk you through the process of installing a split rail fence, providing a clear path from start to finish.
Tools and Materials Needed
Before beginning any fence installation, it is important to gather all the necessary tools and materials. A well-prepared worksite leads to a more efficient installation.
Tools
To install a split rail fence, you will need a few basic tools. A post hole digger or power auger is essential for digging the holes for the fence posts. A measuring tape is necessary for precise measurements, and a post level will help ensure each post is perfectly vertical. A shovel and a hammer will also come in handy during the process.
Materials
For the materials, you will need the following:
- End, Line, and Corner Posts: These posts serve as the structure for the fence. End posts are used at the beginning and end of the fence, while line posts run along the length of the fence. Corner posts are used when the fence turns at an angle.
- Fence Rails: These are the horizontal pieces that connect the posts. They are usually made from pine or cedar and come in lengths of 8 feet or 11 feet.
- Gravel: Gravel will be used to fill the post holes to allow for proper drainage and stability.
- Stakes and String: These tools will help mark the fence line, ensuring that the fence is installed straight.
If you are interested in additional fencing options, you can also consider residential wood fencing, vinyl fence design and installation, or aluminum fence design and installation.
Preliminary Steps Before Installation
Before you begin digging and installing posts, there are a few preliminary steps to take. These are important for ensuring that your fence is placed correctly and in compliance with local regulations.
- Discuss the Plan with Your Neighbors
If your fence is close to property lines, it is a good idea to talk with your neighbors first. They may have concerns or ideas about the fence placement. In some cases, neighbors may even agree to share the cost of the fence.
- Check Property Boundaries
Verify the property lines to avoid placing the fence on someone else’s land. You can consult a surveyor if you are unsure of the boundaries.
- Permits and Zoning
Before you install your fence, check your local zoning laws and neighborhood association rules. Some areas may require a permit for building a fence, especially if it exceeds a certain height or is near property lines.
Layout and Planning
The next step is to lay out the fence line. This step is important because it sets the foundation for the entire installation process.
- Stake the Fence Line
Using stakes and string, mark the location of the fence along the ground. Make sure the line is straight by measuring it from beginning to end.
- Measure and Mark Post Locations
Next, measure the distance between the posts. Typically, split rail fence posts are spaced about 6 to 8 feet apart. Mark each post location along the line, ensuring they are evenly spaced.
- Adjust for Slope
If your land has a slope, you will need to adjust the fence installation to follow the natural incline. For steep slopes, consider a stepped design for the fence, where the rails follow the slope’s contours. This ensures that the fence remains stable and level across the area.
Digging the Post Holes
The next step is to dig the post holes. These holes must be deep enough to support the posts securely.
- Mark the Depth
As a general rule, the post should be set one-third of its length in the ground. For example, if your posts are 6 feet tall, dig the holes at least 2 feet deep. This depth will provide the stability the fence needs to withstand wind and weather.
- Dig the Holes
Use a post hole digger or power auger to dig each hole. The holes should be 10 to 12 inches wide and about 6 inches deeper than necessary.
- Add Gravel for Drainage
Once the hole is dug, add about 6 inches of gravel to the bottom. This will help with drainage and prevent water from accumulating at the base of the posts, which could cause rotting.
Installing the Posts and Rails
Now that the posts are set in the ground, it is time to install the rails.
- Install the End Posts First
Start by installing the end posts. These posts act as anchors for the entire fence. They will be the first posts to be set, so make sure they are aligned correctly.
- Check for Plumb
Before securing the posts, use a post level to check that they are vertical. This ensures the fence is both sturdy and professional-looking.
- Insert the Rails
Once the end posts are secure, insert the rails into the posts. The rails should be placed in the holes of the posts and secured by their own weight. For a classic split-rail fence, the rails are typically inserted in a zigzag pattern, creating the signature look of the fence.
- Secure the Posts and Rails
After inserting the rails, fill in the holes around the posts with gravel and soil. This helps stabilize the posts and prevents them from shifting. Make sure to pack the gravel tightly to ensure the posts remain secure.
Final Adjustments
Once the rails are installed and the posts are secure, it is time for final adjustments.
- Trim the Ends
If necessary, trim the ends of the rails to fit the posts. Use a circular saw for clean, straight cuts.
- Add a Gate
If you want to include a gate, make sure to install it after the posts and rails are in place. The gate should be positioned at an opening where it is easily accessible.
- Stain or Seal the Fence
After the fence is built, you can choose to stain or seal the wood to protect it from the elements. This will help maintain the fence’s appearance and durability over time.
Let Good Neighbor Fence Help You with Your Split Rail Fence Installation
At Good Neighbor Fence, we specialize in installing high-quality split rail fences that enhance the beauty of your property. Our expert team can help you with everything from planning to installation, ensuring that your fence is both functional and attractive.
If you are ready to get started on your split rail fence project, contact Good Neighbor Fence today for a consultation.